A dusty little corner of the Internet: electronics, computer hardware and software, general aviation, 1980's Mopars, and related sundry.
Automotive
1986 Dodge Daytona Turbo Z C/S
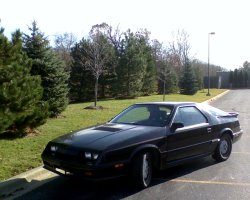

This was my last Turbo Dodge daily driver: a 1986 Dodge Daytona Turbo Z C/S, aka "Frankentona". The "C/S" stands for "Carroll Shelby", which is basically a performance handling package on top of the "Turbo Z" Daytona package. The C/S package includes a 32mm solid front sway bar and a 28mm solid rear sway bar. It also includes a set of 15x6.5 inch "crab" rims (in gold for black C/S's), but I got this one with the standard 15x6 inch "pizza" rims. See Dempsey Bowling's pages for more information on Daytona C/S packages.
The Daytona: November 3, 2006
Posted on November 03, 2006.
Finished hooking up all the guages, mounting the guage pods, getting the exterior all lined up, and getting it on all fours. Had to shorten the hood vent tray to clear the intake manifold. Also did a little fixup on the fenders, since the 87 put the belt moulding above the belt line, while the 86 has it just below the line. Did a little creative tie-wrapping to get the early throttle body cable to work on the blow-through throttle body.
The Daytona: October 29, 2006
Posted on October 29, 2006.

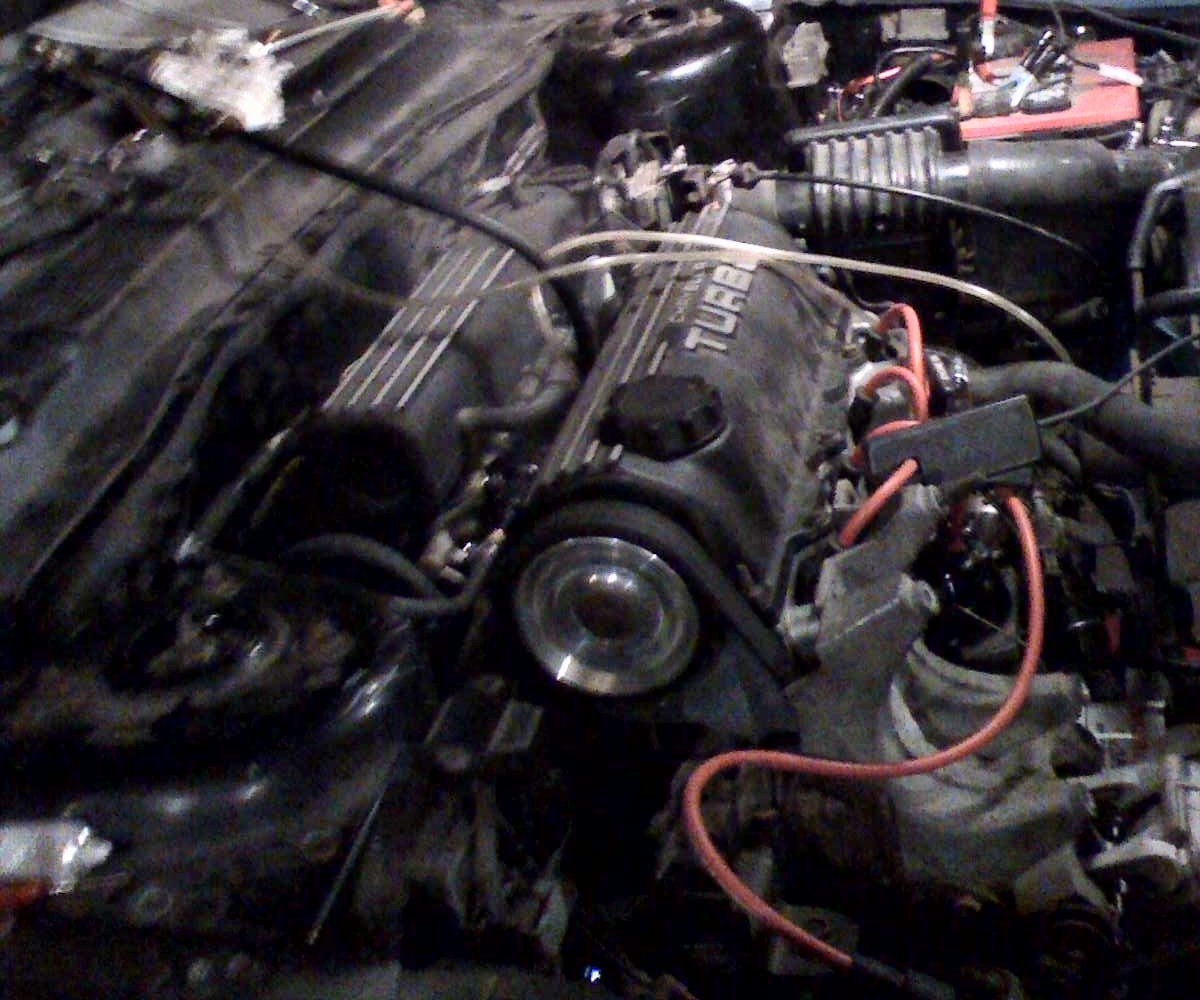
It's alive!!! Frankentona lives again! Got the motor all hooked up tonight, pressurized the fuel system, and checked for leaks. Stared at it for a minute to make sure I didn't forget anything really important and cranked it over. It fired right up on the first try. I was a little surprised, given the major harness surgery it underwent in the engine bay. It was smoking pretty good from all the oil and grease on the exhaust/turbo, but it didn't really show up in the picture. Before test firing it but after putting oil in it, I primed the system with a drill on the intermediate shaft and made sure the turbo was getting oil.
All that's left is to put the fenders and nose back on, cut down the hood vent tray, and straighten up a few things in the interior. The goal was to have it running by Halloween, but I may even have it on the road by then! Just in time too, as the CSX is starting to smoke a bit more....
The Daytona: October 27, 2006
Posted on October 27, 2006.
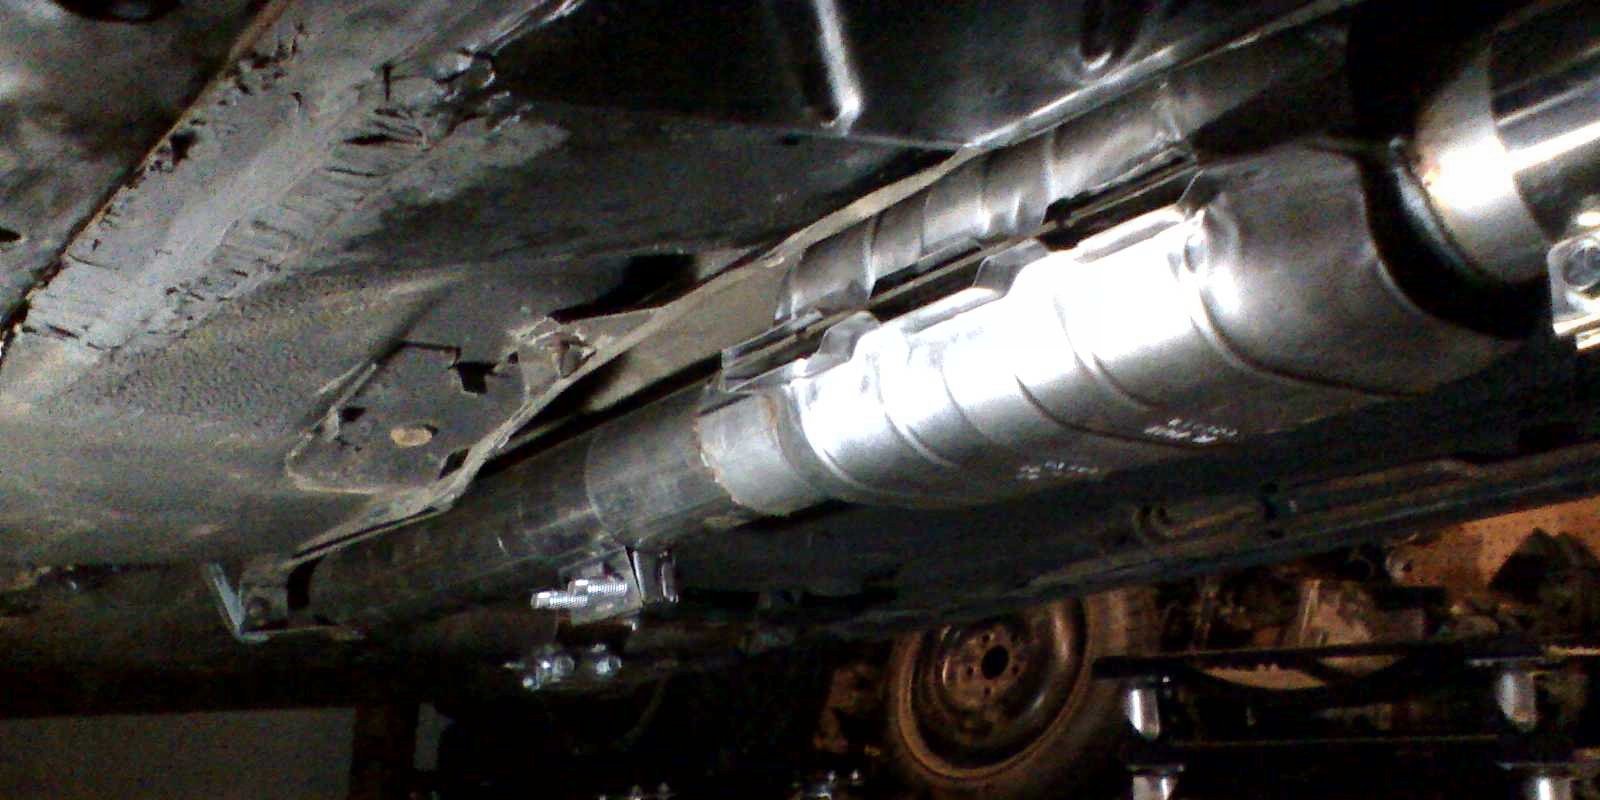
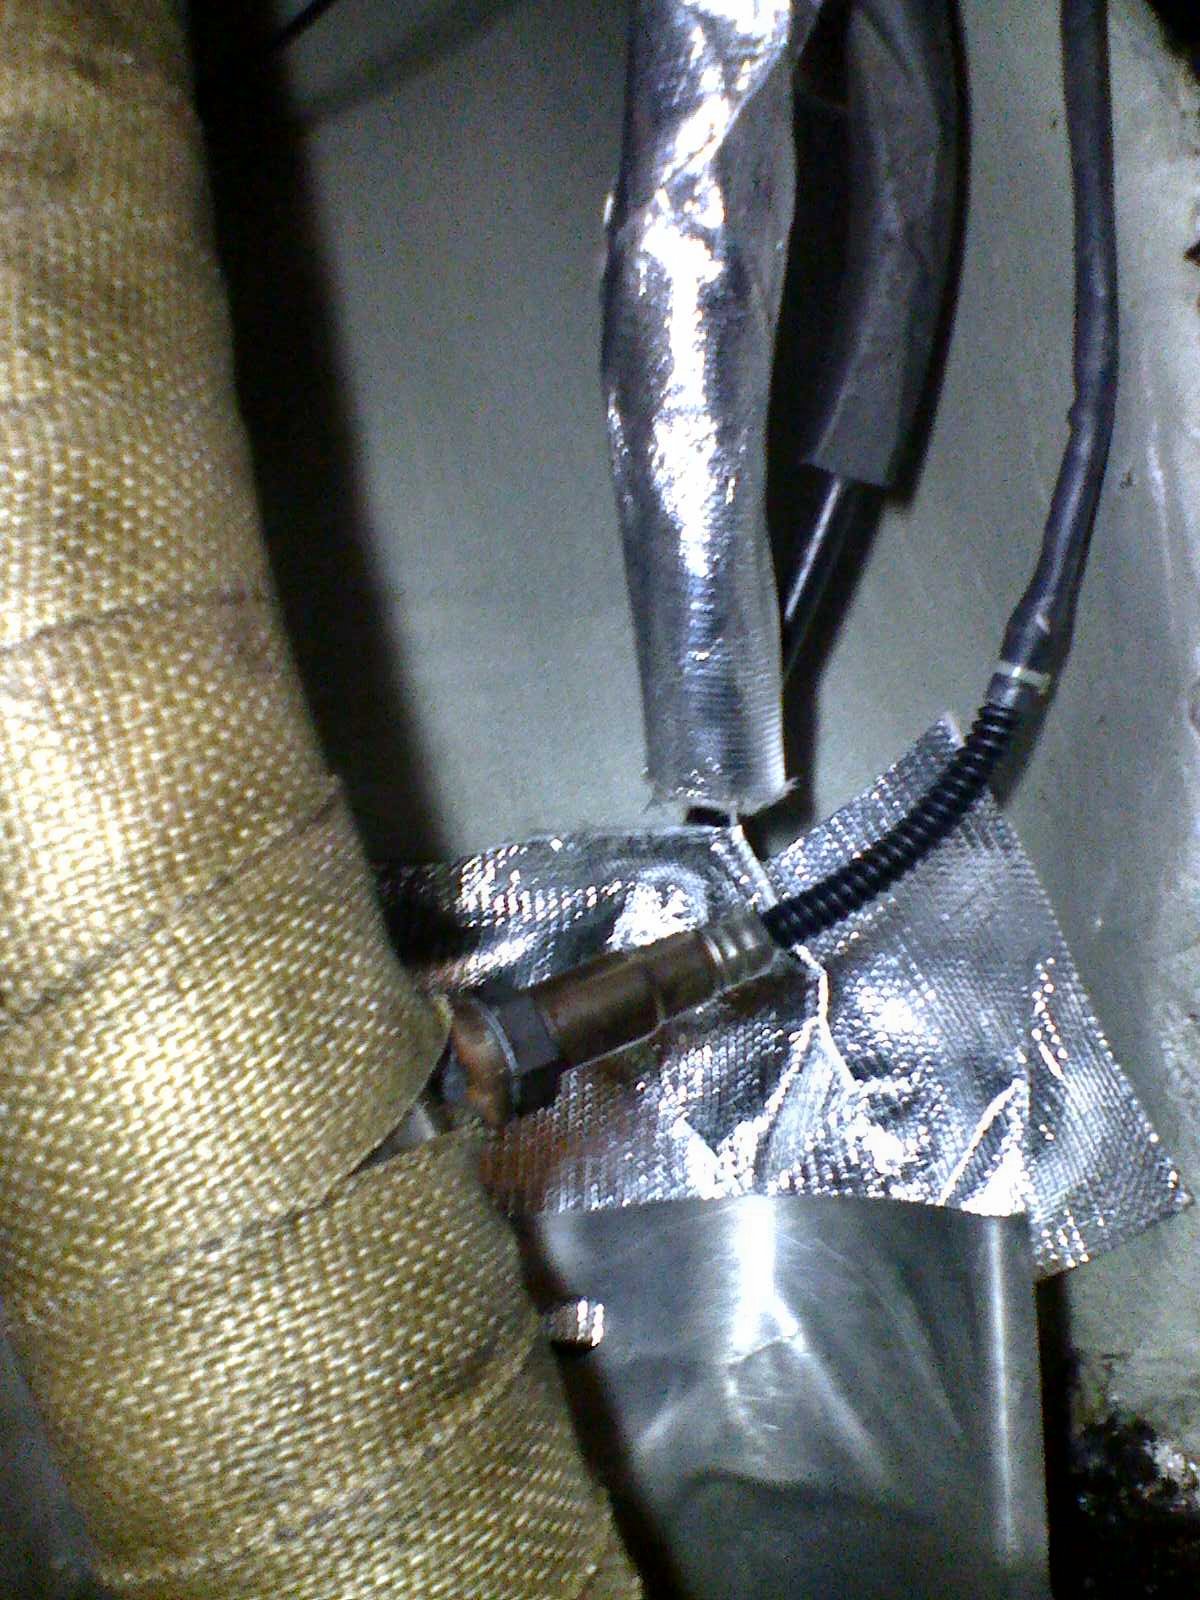
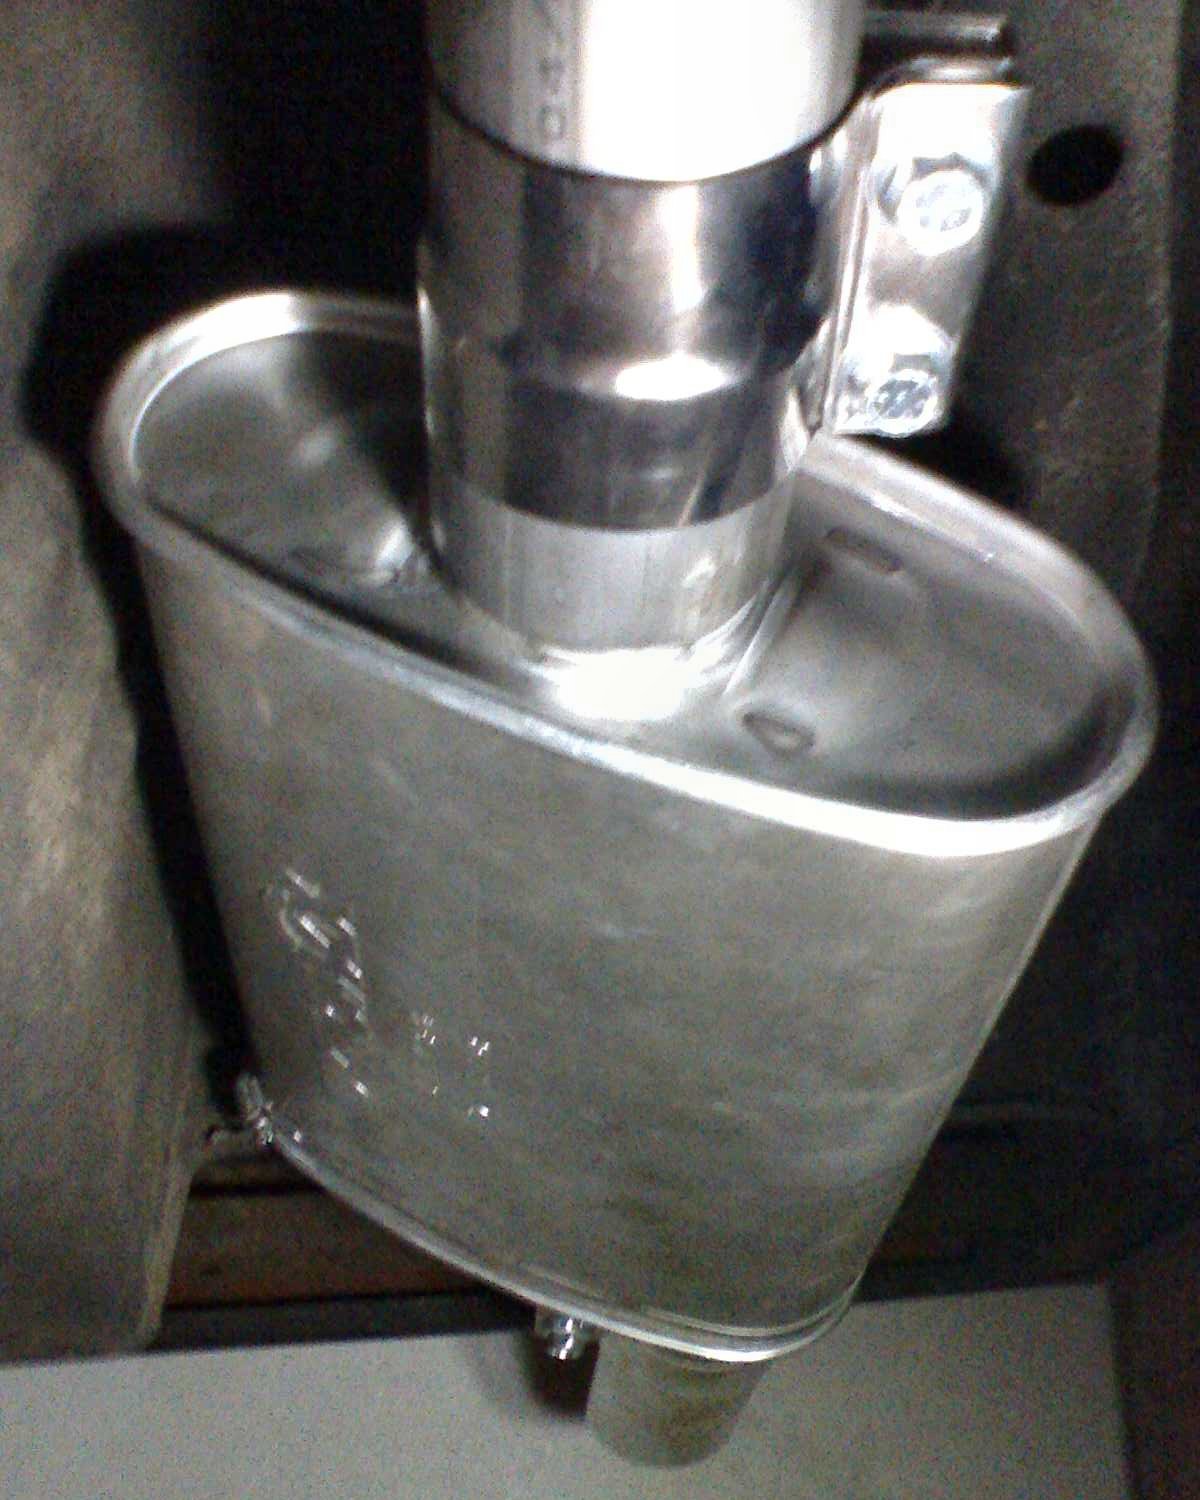
It's been a rough couple of weeks at work (70-80 hours), but I managed to get some garage time in. The exhaust installation is complete. It came out pretty good, but I had the usual surprises. The FWD Performance kits really like the passenger side. The exhaust on both the Daytona and CSX had about 1/2" too much length between the two 90 degree bends, which pushes the cat up against the heat shield from the back. I had to remove that amount from both, but I had to cut that pipe anyway to swing the back half up a bit. It's clamped for now, but I will weld it once I'm happy with how the exhaust has settled in its hangers. Add to that the 3" down pipe, which doesn't have enough length before the last curve and the cat ends up rubbing the heat shield. Some heat shield massaging was needed to clear it. The missing down pipe heat shield required that I wrap the down pipe in header wrap and shield the shifter cables a bit. The offset oval muffler simplified the cutting/fitting behind the muffler, since I could use the offset to drop the tail pipe. That part worked out well.
I'm not really happy with the Walker stainless band clamps. They are nicely made and have captive nuts (which will be interesting once they are nice and rusty), but they don't seal really well due to the way they pull up on the band where it is welded to itself. The cheaper clamps that are on the CSX (Jegs/J.C. Whitney) seal better and I like how they "take-up" the band slack in the dished grooves.
The Daytona: October 15, 2006
Posted on October 15, 2006.
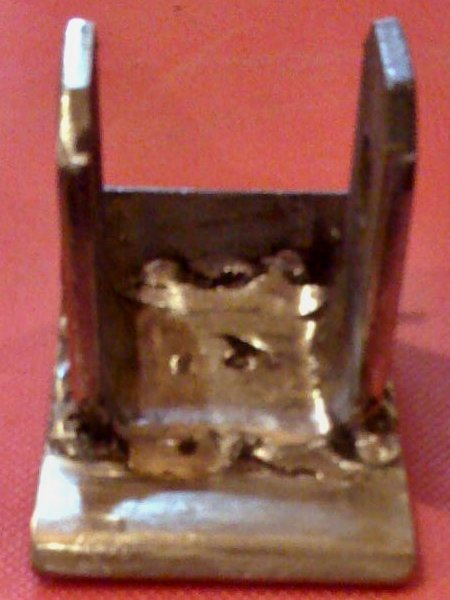
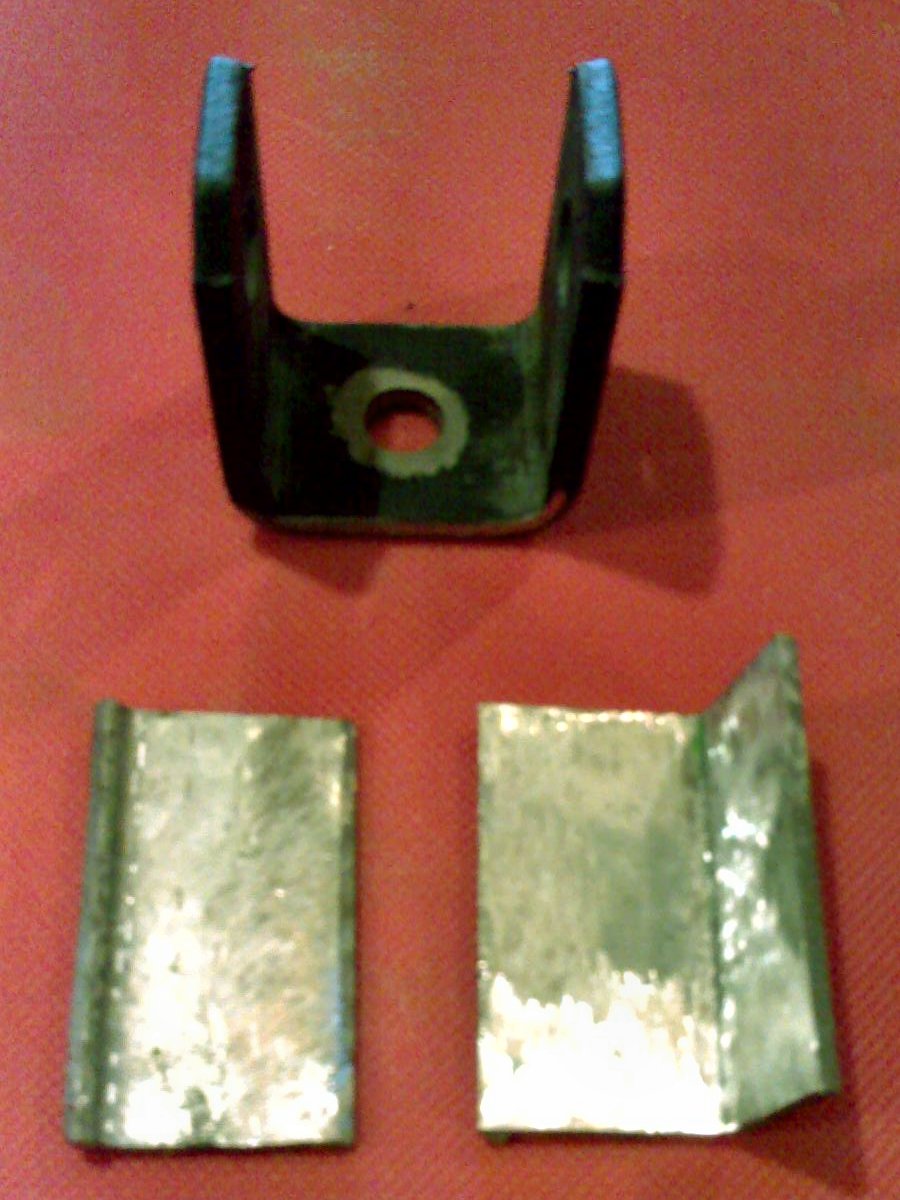 Stupid skin infection came back again...grrr. Really slows me down, but I did get the bobble strut mount from Johnny welded to a backplate and welded to the K-frame. Man, I suck at stick welding. At least with the MIG, the tool helps mask my poor skills. Anyway the mount that Johnny sells is very solid. However, it is being welded to stamped sheetmetal on the K-frame and the contact patch is only about one square inch. As such, a transitional plate is needed to spread the load over a wider area on the K-frame to prevent cracking. I made mine out of a couple of scraps of 1.5" angle iron that was cut, bent, hammered, etc until it matched the profile of the K-frame.
I also got the exhaust cut and fitted. Had to make the same basic changes to the back half as I did on the CSX. Also, getting the nut on the driver's side down pipe bolt is problematic when using the TU 3" swingvalve with the .63 A/R exhaust housing. More on that when it is done.
The Daytona: October 9, 2006
Posted on October 09, 2006.
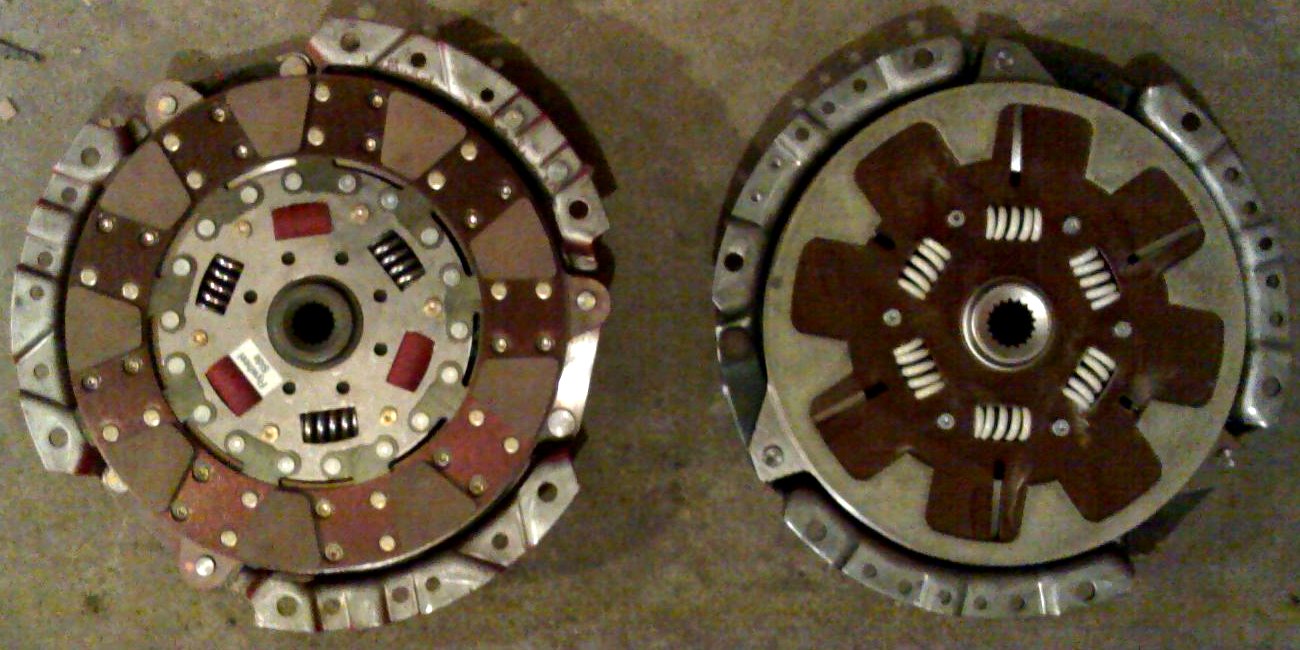
Got the clutch and did the swap. Also got the intercooler perminently installed after painting the core support. The TU ceramic/organic clutch (left) is headed to the CSX. The Kevlar clutch (right) is installed, along with its sparkly blue painted Sachs pressure plate.