A dusty little corner of the Internet: electronics, computer hardware and software, general aviation, 1980's Mopars, and related sundry.
Automotive
1986 Dodge Daytona Turbo Z C/S
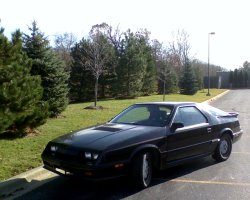

This was my last Turbo Dodge daily driver: a 1986 Dodge Daytona Turbo Z C/S, aka "Frankentona". The "C/S" stands for "Carroll Shelby", which is basically a performance handling package on top of the "Turbo Z" Daytona package. The C/S package includes a 32mm solid front sway bar and a 28mm solid rear sway bar. It also includes a set of 15x6.5 inch "crab" rims (in gold for black C/S's), but I got this one with the standard 15x6 inch "pizza" rims. See Dempsey Bowling's pages for more information on Daytona C/S packages.
The Daytona: December 15, 2003
Posted on December 15, 2003.
The floorpans and all associated nonsense are finally, officially completed. All the welds and seams have been caulked from underneith using polyurethane roofing caulk. It takes a long time to cure (especially in this weather), but it sticks to anything and resists solvents better than silicone (which turns to jello when exposed to gasoline). I don't care for the water based acrylic caulk, as it doesn't stick as well and...wel it is water-based. I also coated the fenders with the stuff as a replacement for the rubberized coating that I stripped off.
I have been working with the wiring to update to '87 electronics and the '91 interior. I have the complete harnesses from the '91, but they are so different from the '86 that it makes no sense to try to put them into an '86 body. The big differences are that they flipped the gender of the bulkhead connector (the male side with the bolt is inside instead of outside) and the body connectors are next to the rear seats instead of under the dashboard. It appeared to be much easier to adapt the '86 dash harness to the '91 dashboard. The '86 wiring has a seperate dash harness and body harness (behind the dash), which I see in most of the early body styles. The '91 combines the dash harness with the body harness so that you have one, huge body harness with a bunch of tails going into the dashboard. I found a way to neatly route the '86 dash harness in the '91 dashboard and solder the appropriate connectors from the '91 harness into the '86 harness. I chose NOT to cut any of the '86 connectors off in the unlikely event that I want to go back to the '86 interior. The instrument cluster and message center are easy, but the headlights and windshield wipers/washer is more complex. The '91 electronics uses a HUGE bank of relays to control everything, The switches on the dash are tiny and cannot control these accessories directly. Therefore, a small relay module is needed to adapt the '86 exterior lighting and windshield wiper/washer circuits to the '91 switchboard. In the near term, I hope that I can just keep my old steering column and let the old headlight switch dangle until I have this figured out.
The Daytona: December 03, 2003
Posted on December 03, 2003.
The floorpans are painted. I got stalled over the weekend because I ran out of paint. I had ordered more the previous week, but it was delayed until yesterday due to the holiday. I also painted the area under the rear passenger seat, which was fairly rusty around the rear seat belts and in the bowls. It looks like it rusted from the inside and I'm not sure where the water came from. The rear quarter panel windows are the most likely candidate. I still have to replace the center section of the passenger side front seat crossmember, which had to be removed to replace the rusted metal underneith. Once that is done, I can finally reassemble.
I am seriously considering upgrading the interior to the 1991+ style. I have a line on a mostly-complete black interior from a '91, plus a pair of doors. Supposedly, the new interior will mount to the old body. The exceptions are the door panels and the center console (and the wiring, of course). Since I would get the new doors, that is not a problem. Some fabrication will probably be needed for the center console, though. The other part I'm not sure about is the steering column. I'd like to keep the one I have, so hopefully that will work. I have not run across anyone who has really done this before, so it should be interesting. In the interest of time, I may have to delay this until the spring though or perhaps do a partial conversion. It would be a shame to put all the old stuff back in just to rip it all out again, but I am pushing my luck with the weather as it is.
The Daytona: November 26, 2003
Posted on November 26, 2003.
 Well, all the pans are in, the holes are patched, and the surfaces prepped for final paint. The surface is rusty from the acidic etching solution used for POR-15 ("Metal Ready"). If the weather holds, I will finally paint the thing this weekend. I will be very happy when this is done so that I can start putting the car back together. There is a fair amount of mechanical stuff to do along the way, but I don't have to worry so much about the temperature with that. I just want to have it back on the road before the first serious snowfall so that the CSX can be put back into the garage.
On that note, I have collected a nice array of parts for it. I have the rear axle assembly, front springs, knuckles and calipers, master cylinder, and proportioning valve from a 1989 Daytona Shelby. The should handle awesome once everything is aboard, though I doubt I will have time for that this year. I have stainless steel braided brake lines, Koni struts and shocks, and polyurethane control arm bushings as well. I hope to have the struts, shocks, and bushings in this year yet, since I have it all apart anyway. I'd be a shame not to upgrade the brakes too, but I am missing various bolts and bits and I don't want to get stalled. I guess we'll just see how it goes.
The Daytona: November 24, 2003
Posted on November 24, 2003.
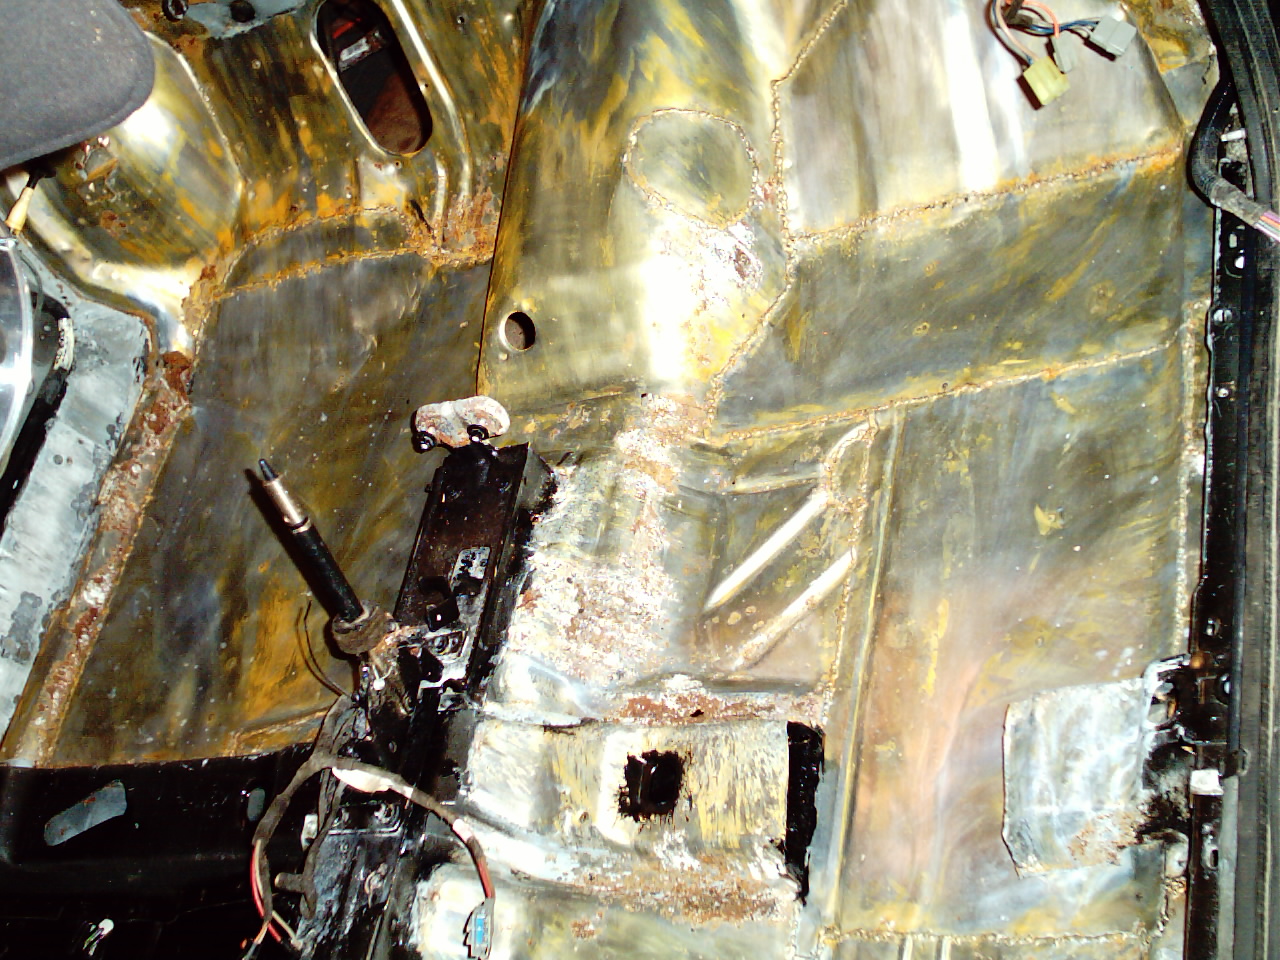
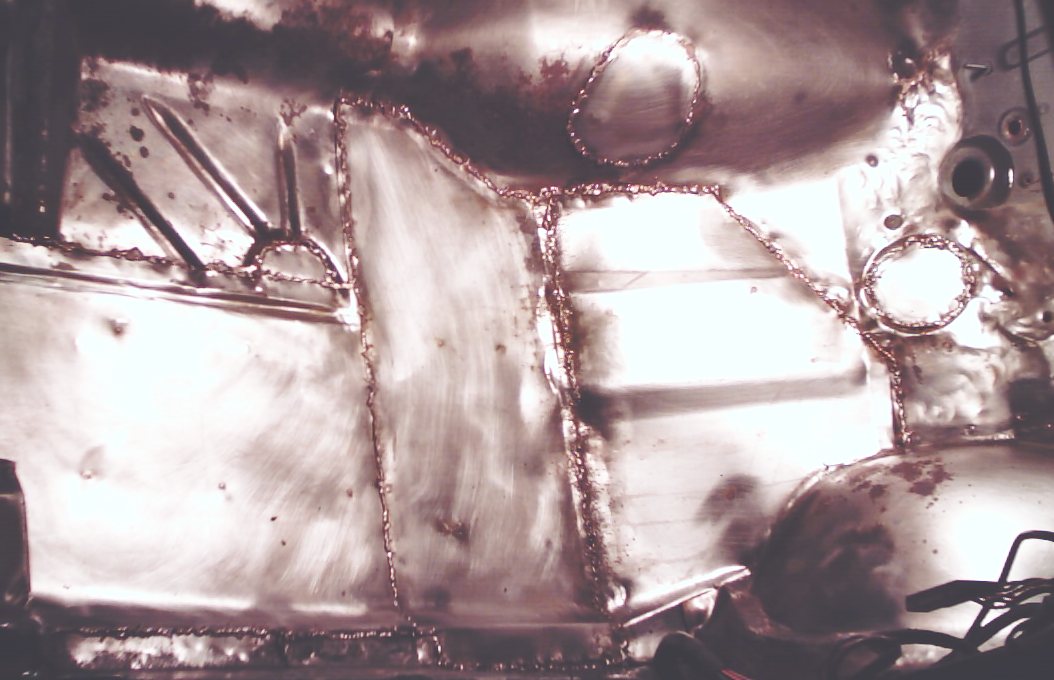
 Got the driver's side welded in. I didn't do quite as nice a job forming this sheet. I sort of got it close, tacked it in and beat the crap out of it with a large sledge hammer to form the front of it to the weird shape of the floor pan around there. I also did not try to reproduce the channels like I did on the passenger side. I did kink a couple of diagonal dents with a cold chisel and hammer on the right portion to keep the panel from wobbling.
The Daytona: November 17, 2003
Posted on November 17, 2003.
 Progress has been slow but steady on the floorpans. The passenger side is welded back in. I ended up getting a MIG welder, as it is the only way to do sheet metal (short of TIG). It definately makes the job much easier and better-looking than trying to do it with a stick welder (less cleanup). I did get one of those stitch welders off of eBay for $20. For stick welding small stuff, it really does help. The rod doesn't stick to the piece and you don't have to worry so much about burn-though. Before welding the plates in, I painted the frame rail and the bottom of the plates with POR-15 Chassiscote Semigloss Black. I have had good luck with POR-15 in the past, but this will be the real test. Obviously, I had to take a wire wheel to the places that I welded the plates to the frame because the paint was burned away. I will go back and touch those up. Also, I won't be using the semigloss stuff again. The finish is very random with using a brush to apply it. Spraying it probably works better.
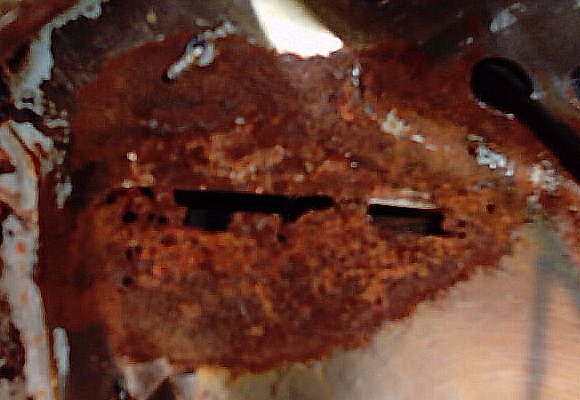
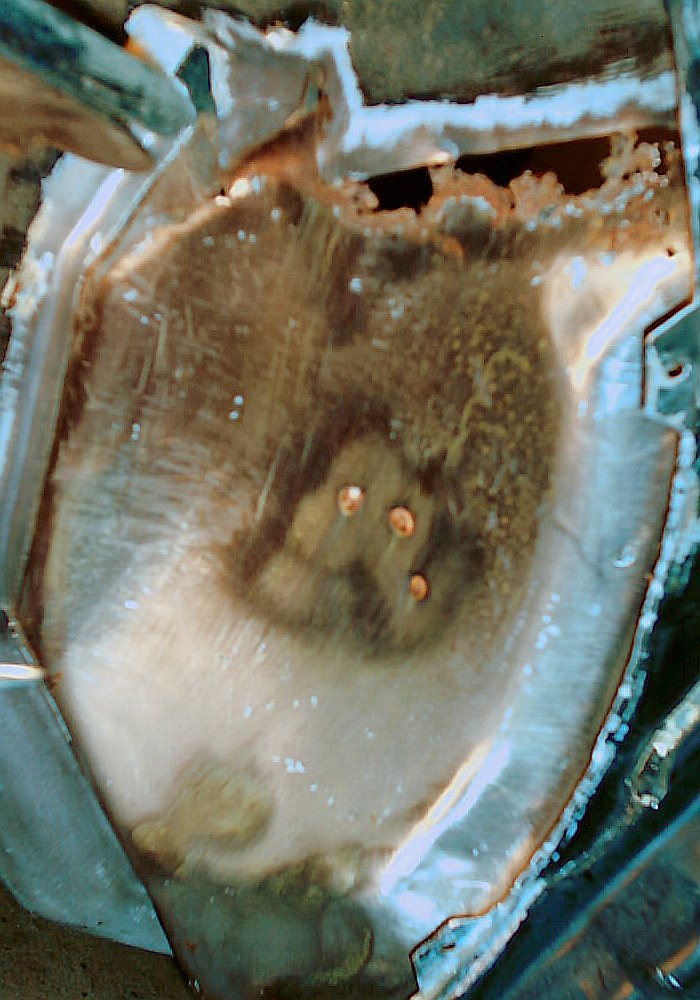
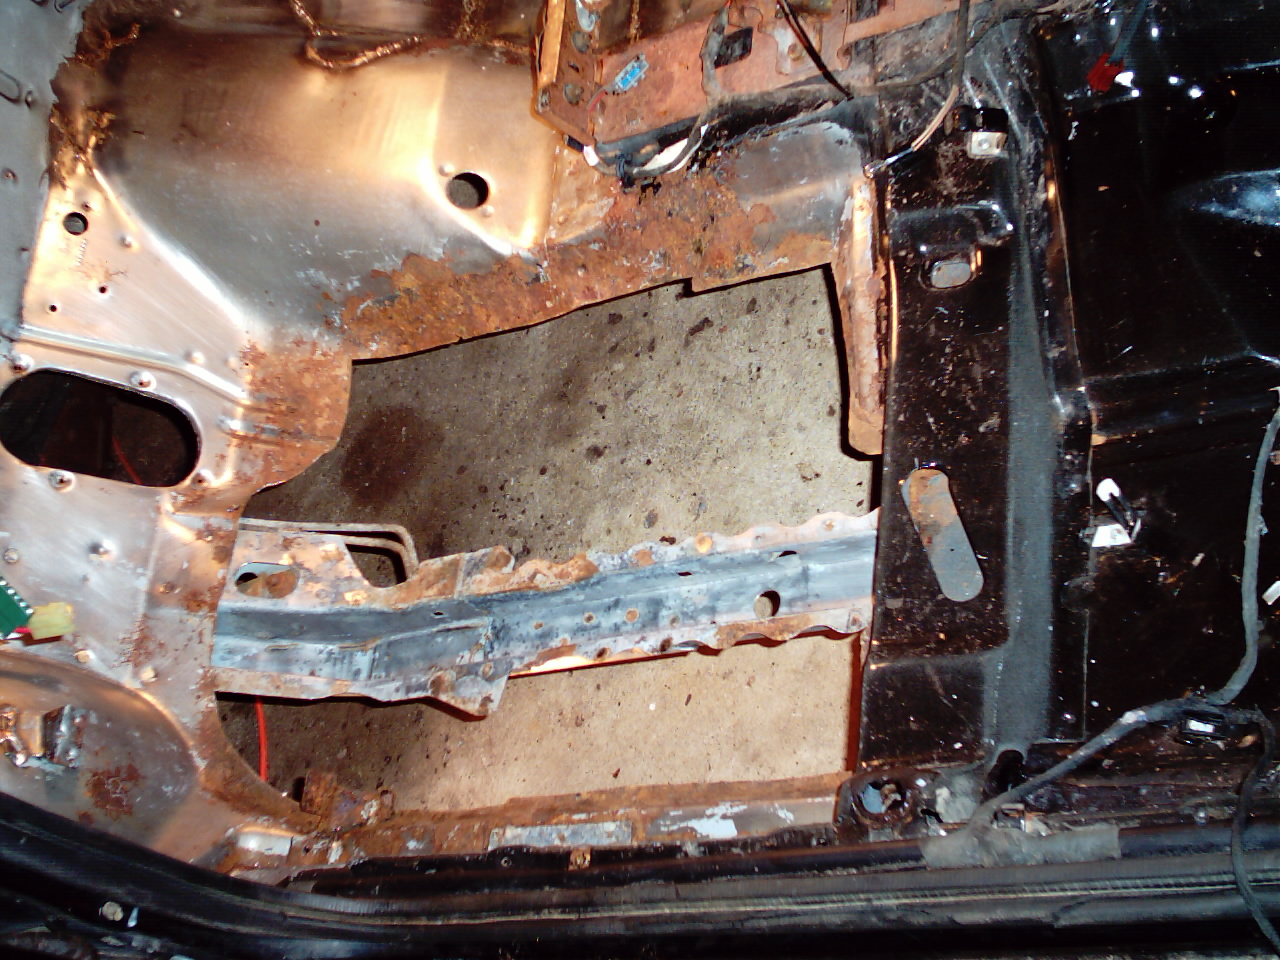 The driver's side is out and the paint stripped. I was disappointed to find the rear K-frame mount on that side is bent as well. This one is bent down instead of up. Even so, I was unable to straighten it. I may give it one more shot with brute force (dropping the car on a jack stand) before welding, though. That's the only way I've ever been able to straighten heavy gauge frame rail steel in the past. Also, the driver's side fender is rusted out pretty bad at the top where it meets the firewall. This area is prone to rust on these cars if it has ever been in an accident. The body caulk cracks and then water, salt and debris gets packed into the seam by the wheels. The passenger side is rusty too, but still solid. If you see any cracks in the body caulk from the fenders, make sure the inside doesn't look like this: