
A dusty little corner of the Internet: electronics, computer hardware and software, general aviation, 1980's Mopars, and related sundry.
Computing

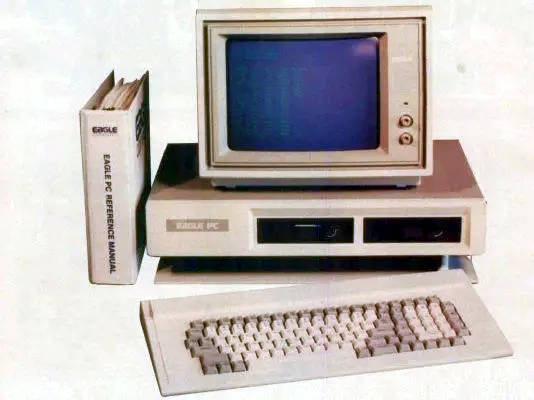 Computers have been a big part of my life, going all the way back to my childhood. Our first "family computer" was a Xerox 820 with dual, 8" floppy drives. It had a few games, including Zork of course, but was mainly a business machine with a Z80 processor running CP/M. I can still hear the specific noises the floppy drive made just before I was about to die in Zork. Later we acquired an Eagle PC-2, which was an 8088-based IBM PC clone. It had a lot of embedded peripherals, but only had 4 ISA slots for expansion. Finally we moved up to an AT clone that mostly replaced it. That machine went through many iterations (286@12, 286@16, 386SX@16, 386DX@32, etc), as it was mostly built out of scrap parts from my dad's work. The Spinrite screen was a common sight, as we limped the mostly-dead hard drives along.
Red Alert! (redux)
Posted on August 21, 2012.
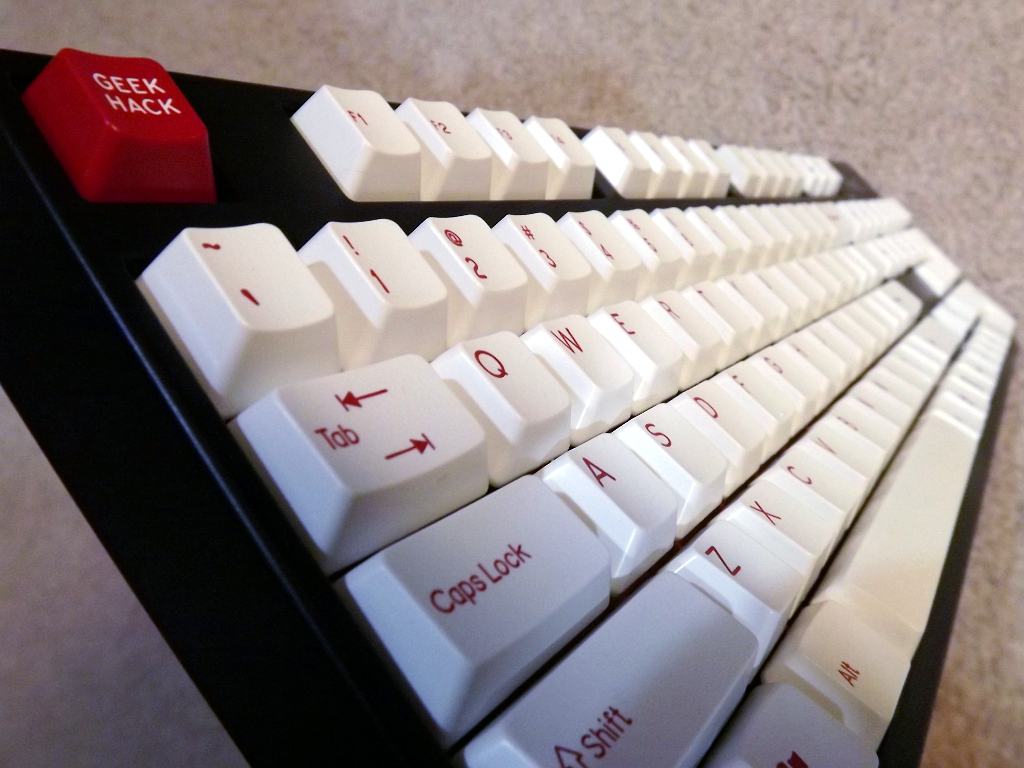
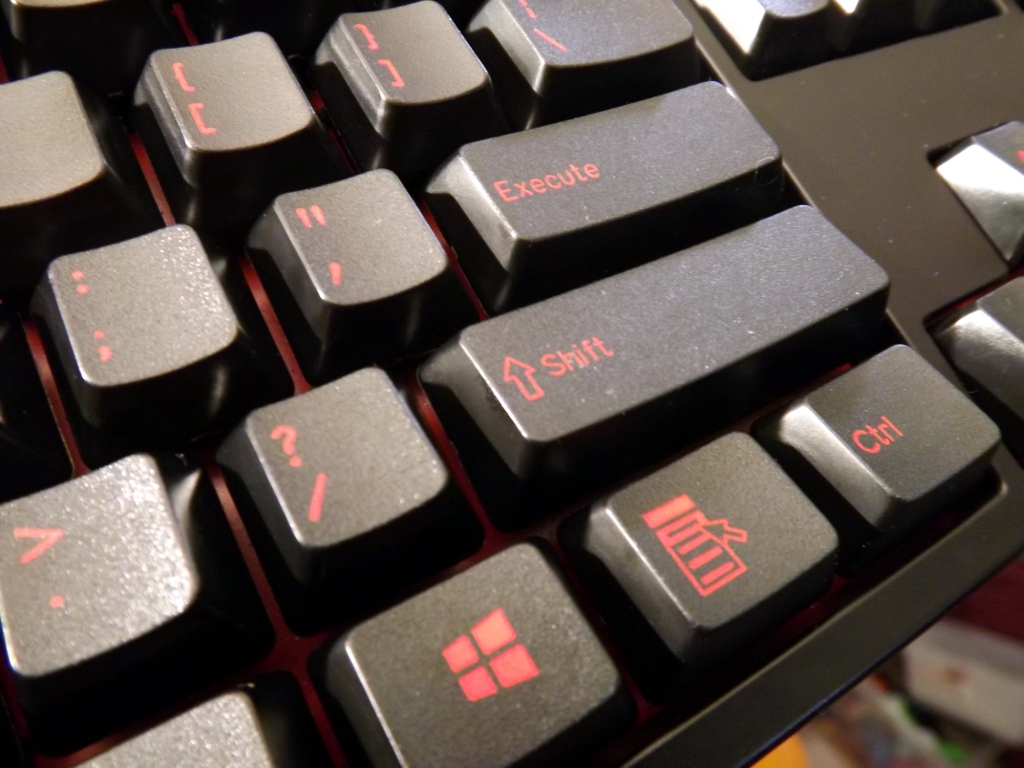
This is the "Red Alert 2.0" key cap set that I got from a group buy on GeekHack. It is based on a similarly-named set that was run by KBTalking forums (Korea). While not quite as fancy, it still looks really sharp. It comes with red-on-white and white-on-red modifiers and Fn row.
Rosewill RK9000 with white modifiers.
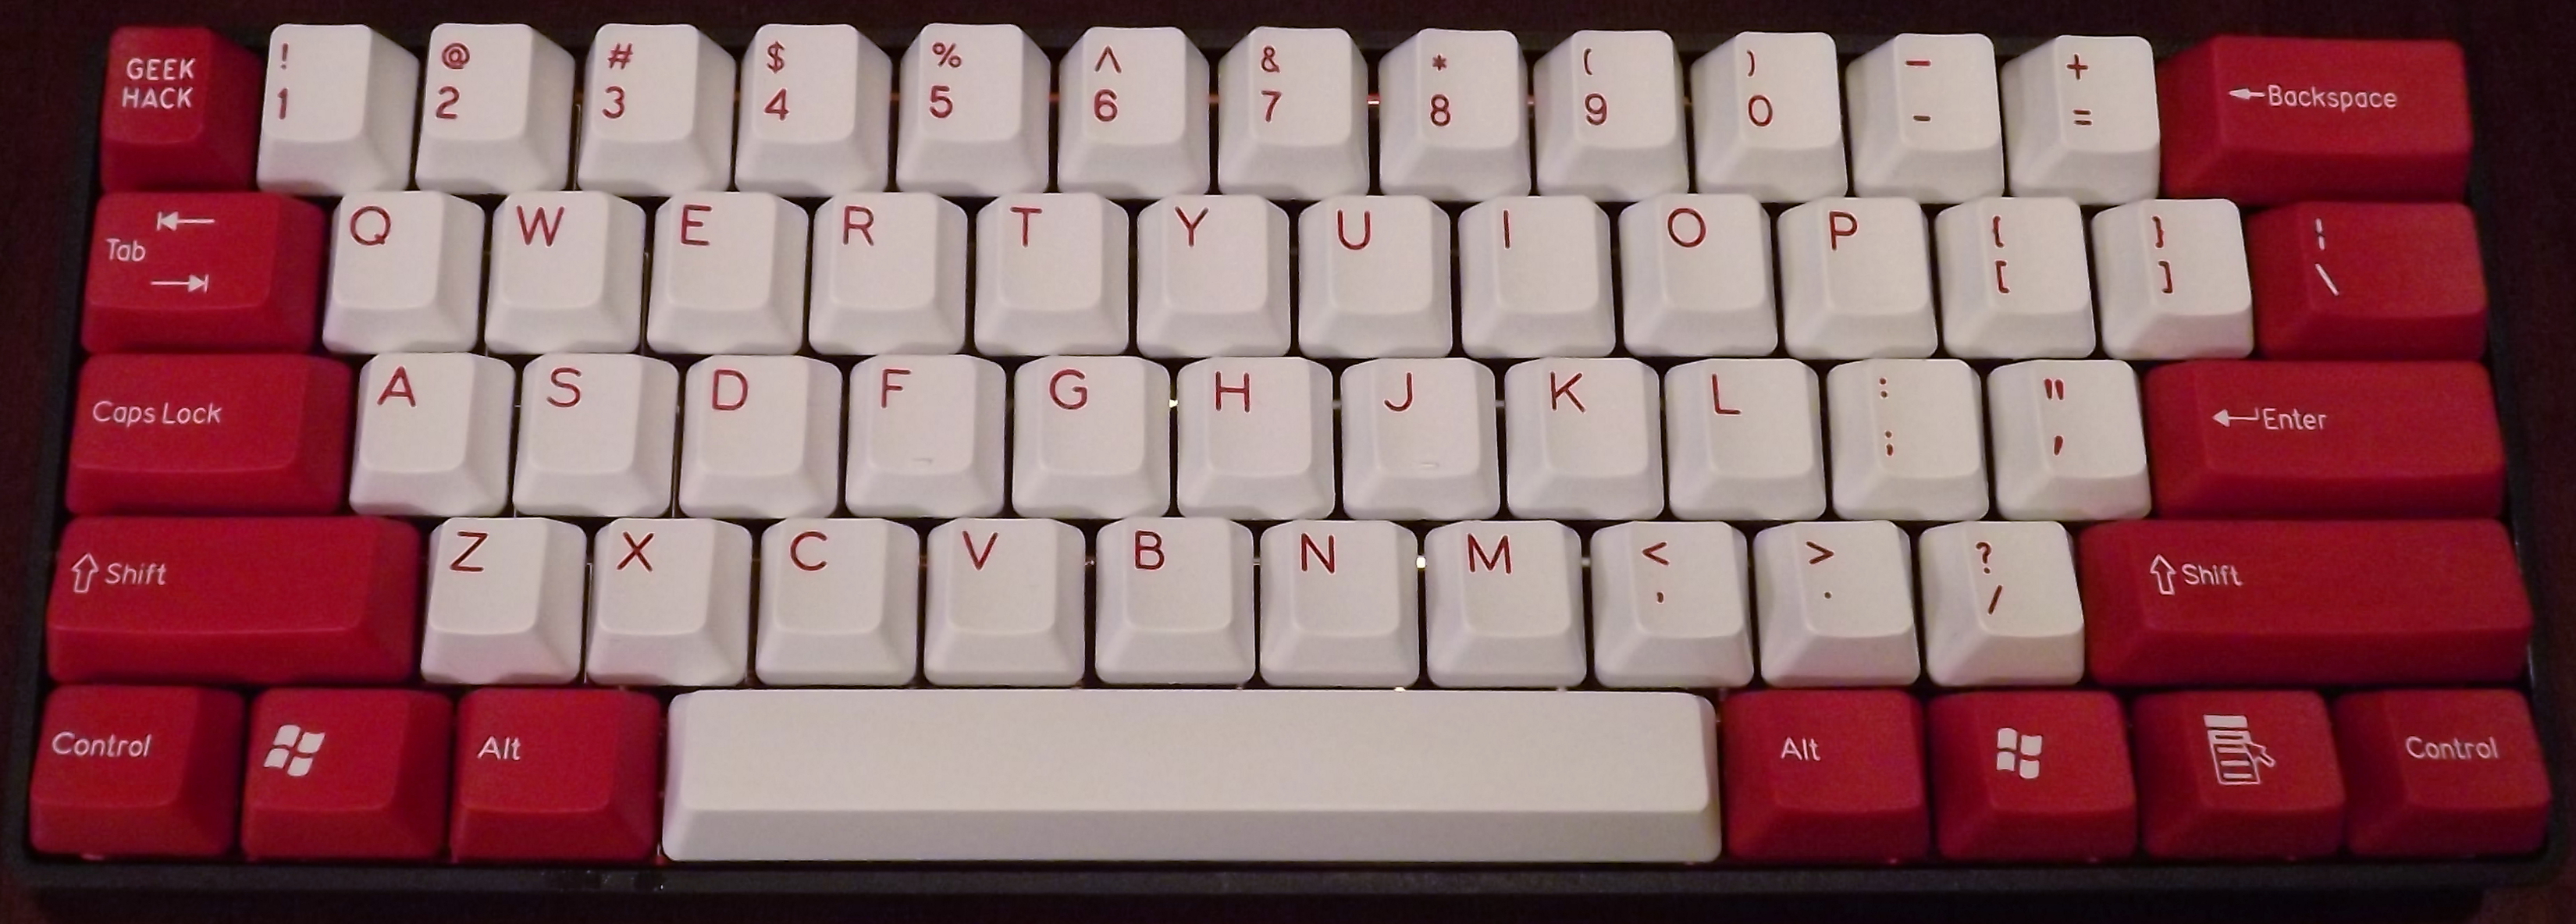
KBC Poker with the red modifiers.
KBC Poker Center Support Modification
Posted on August 20, 2012.
This article was put into the GeekHack Wiki.
The KBC Poker X is a compact (60%) mechanical keyboard made by Vortex. Although it seems like it will be phased out and replaced by the Vortex Pure, it has a few advantages over it:
- The Poker uses completely standard key cap sizes so that any tenkeyless key set will work.
- The arrow keys are intuitively located both on the WASD cluster and on the lower-right modifiers.
It does have a few design problems, though. One is that the function lock on the Esc key (tilde) and on the lower-right nav keys is not reversible while holding Fn. Unfortunately, there is nothing that can be done about this. This is a particular problem when using vi or other cases where tipost.data.page.excerptlde is often used.
The other issue is a mechanical one. The PCB is mounted to the case at either end with screws, but there are no screws in the center. This causes the PCB to bow up slightly in the center, giving the keyboard a bouncy feel on the middle keys. Some folks have used a layer of thin foam between the PCB and the case to absorb this flex, but it doesn't really address the root problem.
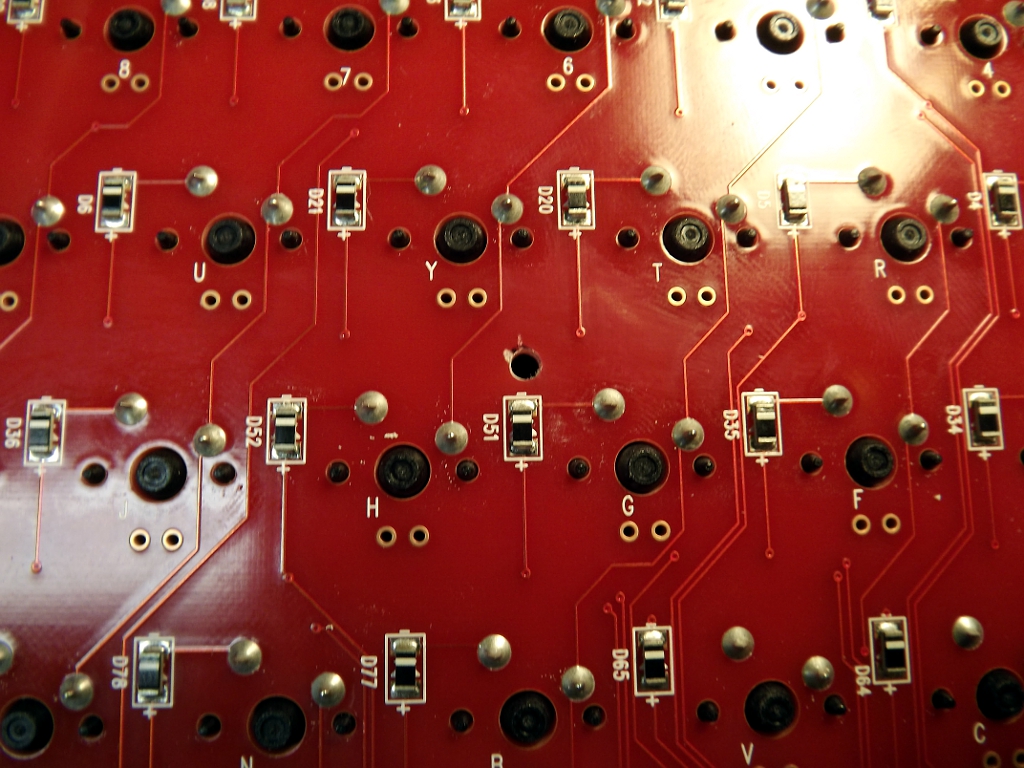 A better solution to the PCB flex problem is to add a center support and screw, like the Pure. This requires drilling a hole in the PCB and then supporting it by the case somehow. Some care is required in selecting the location of the hole so that you don't drill through a trace. The area right above D51, between the G and H keys is a good location. There is ample space on both sides of the PCB. I used a 3/32" bit.
Try to drill relatively close to the the diode so that you don't hit the trace on the top of the PCB that is right under the Y key.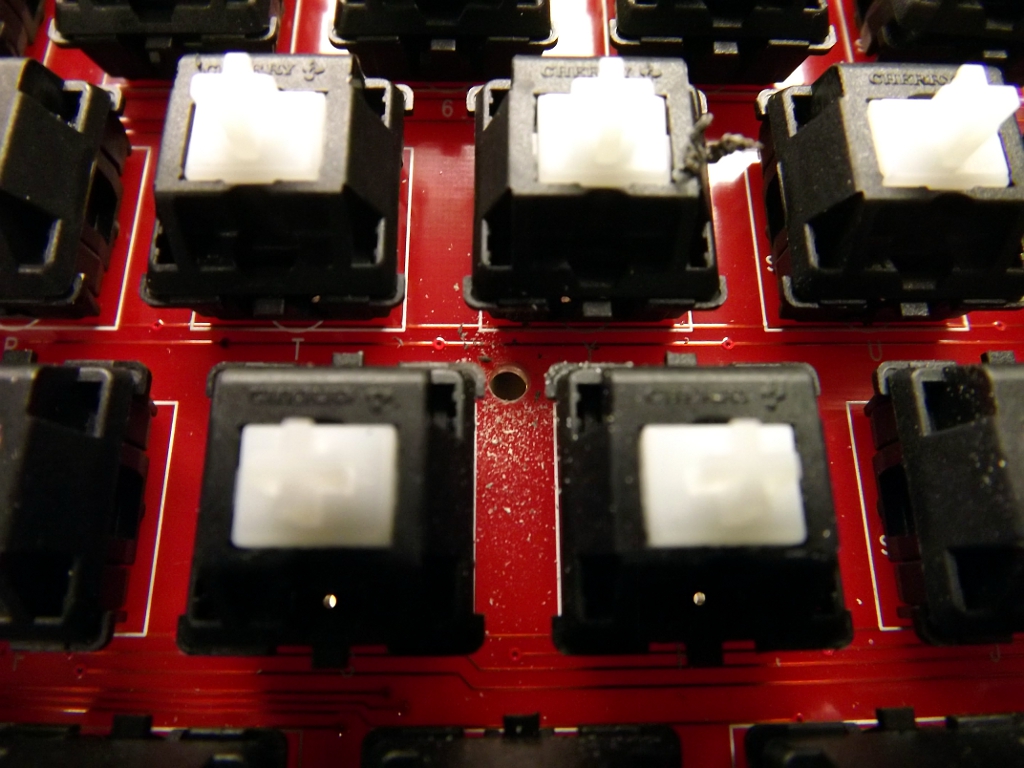
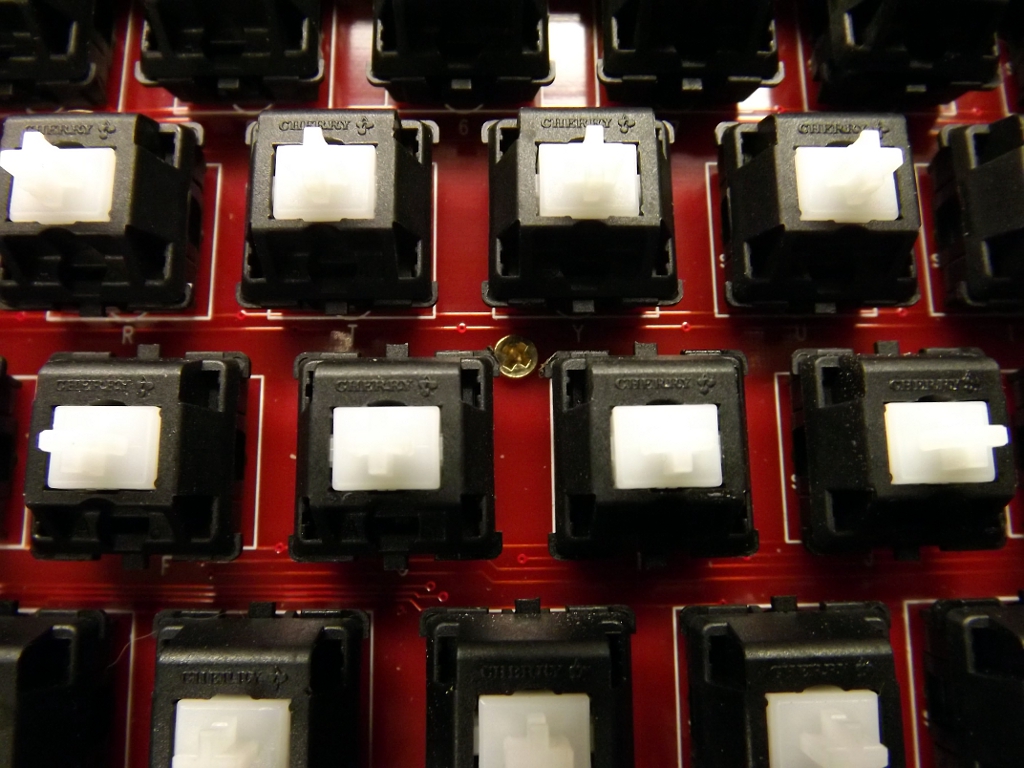
This location will put the hole close to a rib in the case. Temporarily mount the PCB in the case with a couple of screws. Be sure to use the hole next to the Tab key, since it provides the best side-to-side alignment. Then, using the bit you used to make the hole in the PCB, gently drill straight-down into the case below. You are just making a mark, not actually drilling through the case.
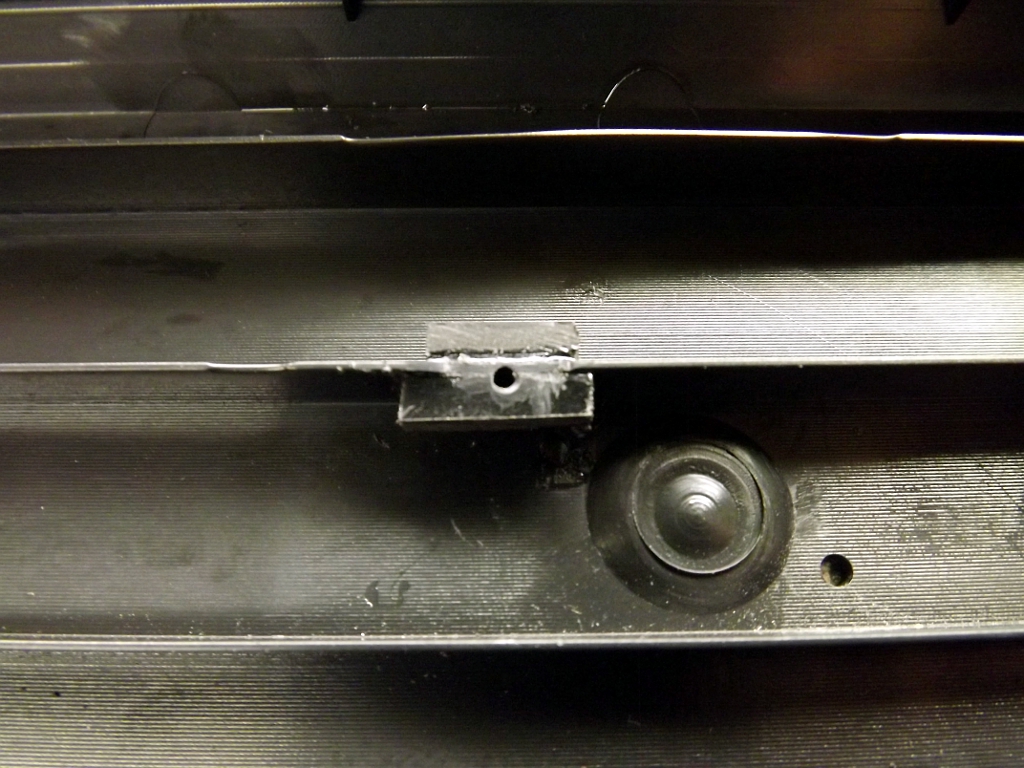 How you support the screw is up to you. You could mount a stud/offset similar to the ones already there. You could also drill completely through the case and use a long screw and nut. I opted to support the area with some scraps of ABS (cut from a Radio Shack project enclosure) welded to the rib in Poker case using Acetone. I then drilled a small 1/16" pilot hole.
 The PCB was then mounted to the case with a small brass wood screw.
The Poker now feels much more solid. No more extra spring around the center of the board. I'm even questioning if it is worth getting an Aluminum case for it.
Vortex Race
Posted on August 09, 2012.
Here is the infamous Vortex "Race" 75% back lit keyboard. I've been using a KBC Poker X (a 60% keyboard) for a while with my laptop, so it is nice to have a real Fn row and a nav cluster of sorts. One has MX reds and the other MX browns. One or both will be "ergo-clear" modded at some point (MX clear stem with a blue/brown/red spring).
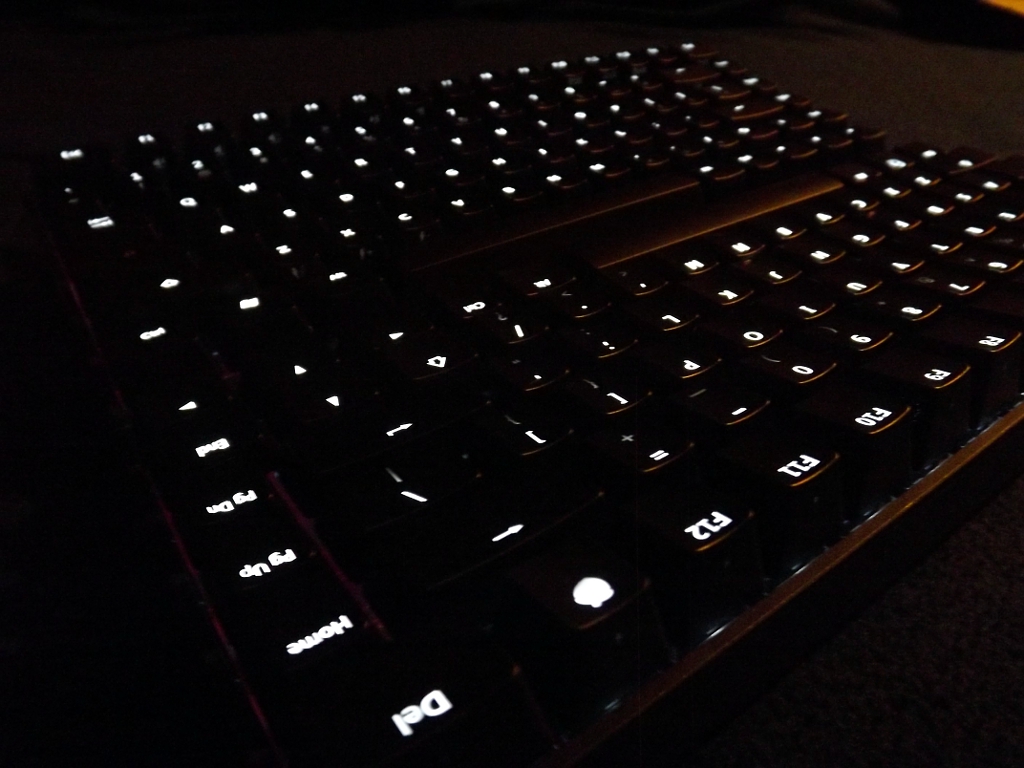
Here is the back lighting in action. It lets you set the brightness and lighting mode. One lame thing is that it forgets all the settings whenever it is reset. Another disadvantage is that it uses non-standard key cap sizes and profiles. So even if you give up the back lighting, you can only get other cap sets from Vortex. Vortex is a poorly-run company and I recommend avoiding working directly with them. Getting these turned into a bit of a mess over on GeekHack. The best thing is to buy them from a retailer that has them physically in stock.
Both have white LEDs.
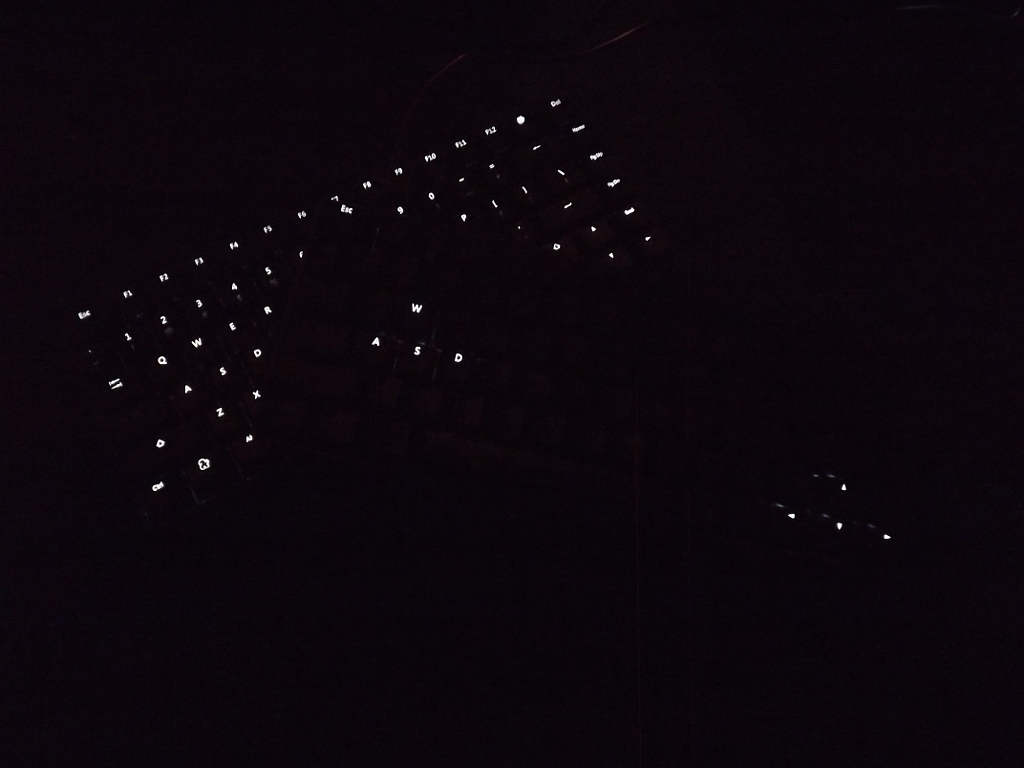
Full lighting and WASD/Nav lighting.
Reds on Reds
Posted on April 25, 2012.
This is the CM Storm Quick Fire Rapid with Cherry MX red switches sporting double-shot "Ragnarok Red" key caps from signature plastics. Much better than the gaudy caps it comes with. They have more texture to them, too.

Perfect for the CM Storm.
Close up on the Rosewill.
Model M Cracked Frame Repair
Posted on April 06, 2012.
This was originally posted on GeekHack in the mods section before we were attacked by r00tworm. I'll be moving it into the new Wiki at some point.
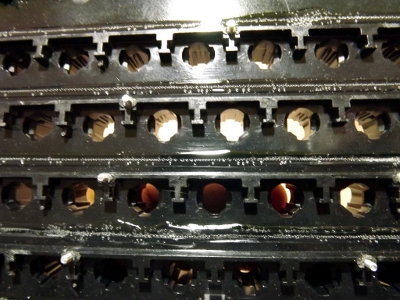
 One of the Model M failures that is harder to deal with is cracking of the plastic plate that contains all of the key cap cylinders. Unicomp refers to this as the keyboard "frame". Severe cracking is usually caused by extended use with broken rivets and/or severe abuse. Between each row are channels where the plastic is thin so that the frame can follow the contour of the backplate. The plastic gets brittle over time and will crack along these channels.
Your choices for dealing with frame cracks are:
-
Find a different keyboard and use this one for parts.
-
Do a bolt mod and swap the frame from another good keyboard. This only makes sense if you have a good donor and the one you are fixing is more vintage or otherwise has some nostalgic value.
-
Get a replacement frame from Unicomp. This still requires a bolt mod, but they will sell you the frame for $10. I assumed that they only stocked the full sized frames, but I was wrong. They have 84 key frames in stock. (hmmm...why would they have those?)
-
Attempt to repair the cracks.
The keyboard I was repairing was a Model M Space Saving Keyboard (SSK), so the only option I thought I had was #4. I later bought a new frame from Unicomp, but only after I did the crack repair. I can't tell if the new frame is old stock or if it's a brand-new part.
Testing revealed that the frame is likely made out of ABS. This makes it a good candidate for gluing, as lots of solvents can cut ABS. Regular model cement usually has MEK in it, making it an easy choice. There are other, more aggressive glues out there as well that work well with ABS. You can also bond ABS with just solvent, but this is tricky as it requires a good fixture to hold everything together. The result is sometimes more brittle than when using a glue that has a filler, like model cement.
My plan was to cut some long, narrow strips and glue them to the top of the frame along the cracks. There is plenty of gap between the top of the frame and the bottoms of the key caps. This turned out to be unnecessary. All you'll need besides the usual nut-and-bolt stuff is a tube of model cement (the stuff you glue plastic models together with). It should be easy to find at a hobby or hardware store. Here are the steps that I followed:
-
Follow the usual procedure for the "Nut and Bolt Mod" and stop after you have driven all of the screws into the frame. Be extra careful while handling the damaged frame.
-
Now test fit the frame to the backplate. Leave out the membranes and rubber mat. You might want to lay a piece of wax paper down over the plate to keep the glue from sticking to it in step 5. I didn't have any issues, but it's something I thought of afterwards. Spin a few nuts on along the center and the corners to make sure all of the screws line up well. Check that the frame is following the contour of the plate. Look at the cracks and try to get the plastic aligned again so that the top is even. Usually one side of the crack will be above or below the other. Some pressure will pop them back in place.
-
Once you are happy, remove the backplate again and set the frame face-down. Be ready to reassemble them quickly.
-
Lay down a bead of model cement into each channel between each row, completely filling them. Keep it neat. Don't get any glue in or around the area where the pivot plate sits. Don't fill the channel higher than the adjacent ridge or it will squirt out. I did this to all of the channels, even the ones that hadn't completely cracked yet.
-
Reattach the frame to the plate as you did in step 2. Add as many nuts as needed to make sure the frame is following the plate contour snugly, especially around areas of severe cracking. Be sure to check the cracks to make sure the plastic is still aligned. Pop them back into place as necessary.
-
Once you are happy with it, set the assembly frame-down and leave it for 24 hours. The glue normally dries quickly, but it takes longer when it can't breath well.
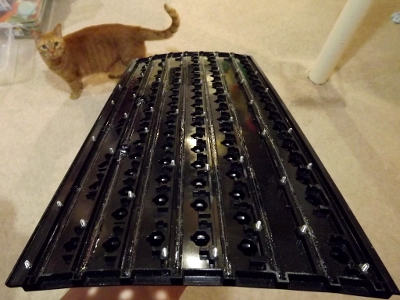
This is after the glue dried. Kitty finds the result to be satisfactory.
- The next day, remove the frame from the plate and check your work. The glue will shrink some as it dries, so you shouldn't have issues with extra glue sticking out. If you do see glue where it doesn't belong, it can be cut back with an exacto blade and smoothed-out with a paper towel dampened with acetone or MEK (wear gloves). Be careful not to get solvent where you don't want it.
- Continue the Nut and Bolt Mod procedure from where you left off. It's a good idea to test it with a few nuts in place before completely finishing the reassembly.

I was so impressed with how strong the frame was after doing this that I didn't bother gluing any strips on the top. The reassembled SSK is working well!
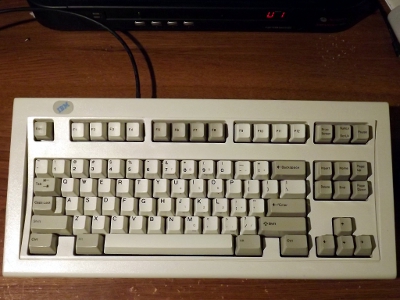
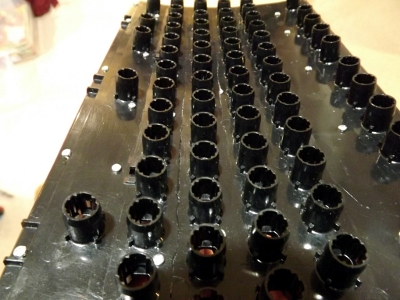
Below is a picture of the new frame from Unicomp. You can see that it has drain channels; something my '93 SSK lacks. Apparently, these are brand-new parts.
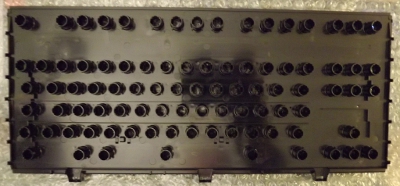
Even though Unicomp does not stock plates, membranes, or cases for the SSK, they do stock these. I'm guessing it's because it's the most common SSK-specific part that fails. The SSK is one of the more sought-after version of the Model M, probably because of the popularity of tenkeyless boards these days. There is a project on GeekHack to revive the SSK using modified Unicomp parts.

